|
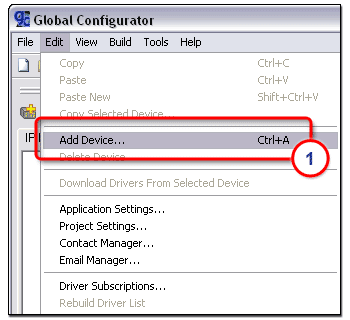
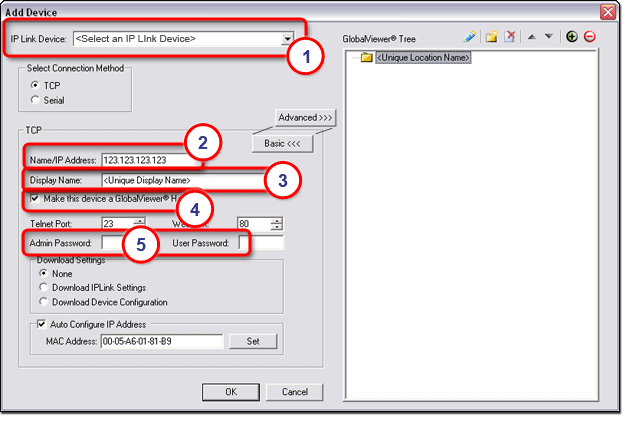
To launch the Add Device dialog box:
- or - Click the Add Device icon.
- or - Select Create a Project in the Start Options dialog box. Follow the prompts until the Add Device dialog opens. |
|
|
With the Add Device dialog box open (see below):
|
|
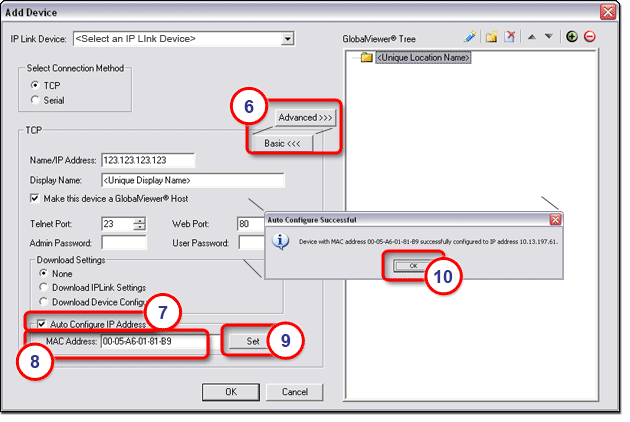
With the Add Device dialog box still open (see below):
The Auto Configure Successful dialog box is displayed.
|
|
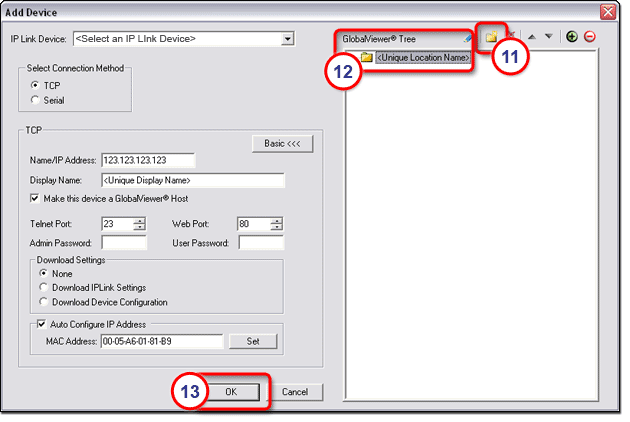
With the Add Device dialog box still open (see below):
The Add Device dialog box closes. |
![]()
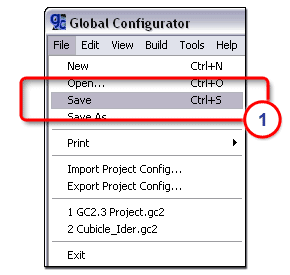
Save the projectTo save the project file:
- or - Click the Save icon.
|
|
|
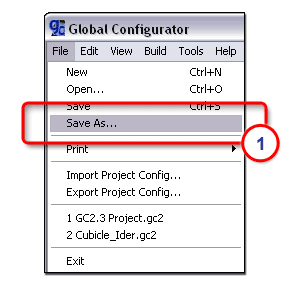
To save the project file as...:
|
|
|
The Save As dialog box opens.
|
|
![]()